Last year, one of my VERY FIRST DIY’s for this blog was “Plus Size Cuff-Off Shorts.” Today’s DIY is an extension of this early basic DIY. I am going to show you how make Plus Size Cuffed Shorts using the “cut-off” method plus a little bit of hand sewing and ironing.

SUPPLIES
- 1 Pair of Pants
- Scissors
- Ruler
- Tailor’s Chalk (or Water-Soluble Colored Pencil)
- Iron
- Straight Pins (Optional)
- Sewing Needle
- Thread
STEPS
1. Put on a pair of pants to be DIY-ed.
2. Decide where you want your shorts to end and make a small mark with TAILOR’S CHALK on the SIDE SEAM of one of the legs as a guide.
3. Take off pants and lay them facing up on a flat surface.
4. Using your ruler, measure from the hem of your pant to the mark you made on the side seam. You will need this measurement for following steps!
5. Go to the INSEAM of the same pant leg. Measure up from the hem using the measurement from above. Mark the measurements with TAILOR’S CHALK.
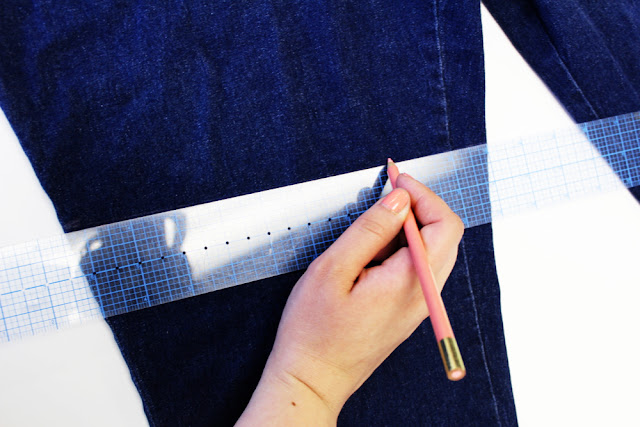
6. Using your ruler, draw a line connecting the two measurement marks. This is your “new hem line” aka FOLD LINE #1.
7. Measure down 1″ from your FOLD LINE #1. Draw a straight line using your TAILOR’S CHALK. This is FOLD LINE #2.
8. Repeat Step 7. This is your CUT LINE. Your lines should look like the following:
9. Repeat STEPS 4-8 on second pant leg.
10. Cut pant legs on the CUT LINE.
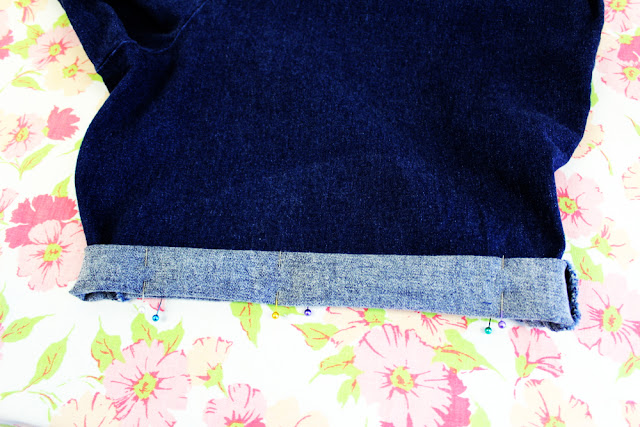
11. Go to your ironing board/ironing area. Fold NEW PANT HEM (used to be “Cut Line”) up to FOLD LINE #1 and iron in place. Repeat all the way around the pant hem. Repeat for BOTH LEGS.
12. Fold pant hem up one more time to FOLD LINE #2. Iron in place. (Optional: Pin in place with straight pins, if needed)
13. Taking your SEWING NEEDLE and THREAD, tack down the cuff at the side seam and inseam of both cuffs/pant legs.
14. Try on your new cut-off shorts!


